COTTAGE PAINT FQA's : Frequently Asked Questions. ( Advice given here is a guide only).
- I've finished my desk with Satin varnish and don't like the sheen. I want a matte finish, what do i do now? We would ask you how long it's been since you finished your piece with the satin varnish. Do a light sand test patch in an area which is not so visible, using a 300 to 400 grit sandpaper. If your get some powder coming up, then go ahead and light sand your piece, tack cloth, then you can recoat with Cottage Paint Flat varnish. if your varnish isn't fully cured, and your sandpaper is looking gummy, you have to let your furniture dry for a few more days before revarnishing with Flat.
On this page, we will share with you our Cottage Paint projects, before and after.
Planter Box Makeover
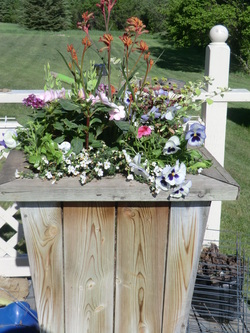
This is the planter before, I always felt it needed some embellishment, but never quite found anything suitable. Not the best surface to stencil on, uneven and old, with cracks. I decided to try it anyway, in the hot sun. ( don't do this as the paint dries very quickly on the stencil, making for a difficult clean-up).
Planter box After
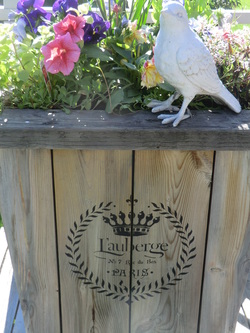
Looking a bit French now...
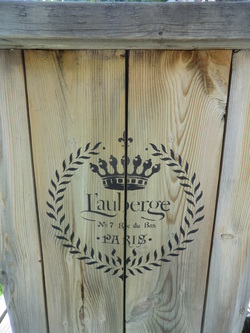
Close-up of Stencil detail
Dining Room Table and Chairs Makeover
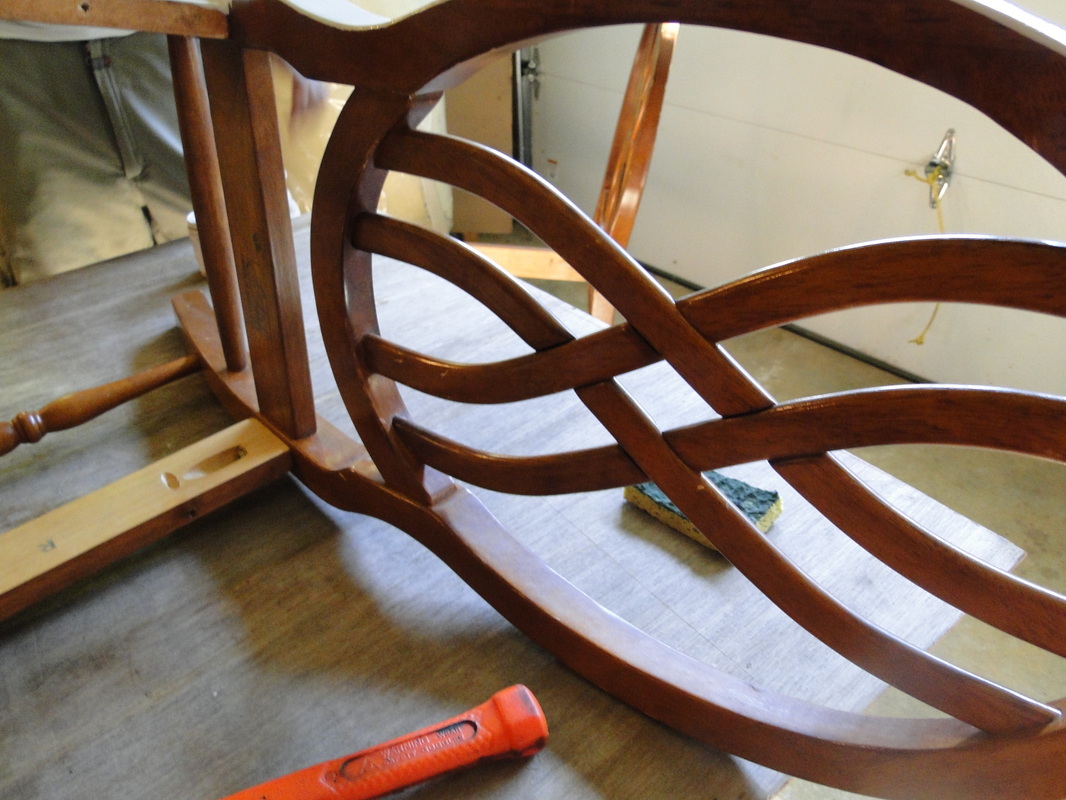
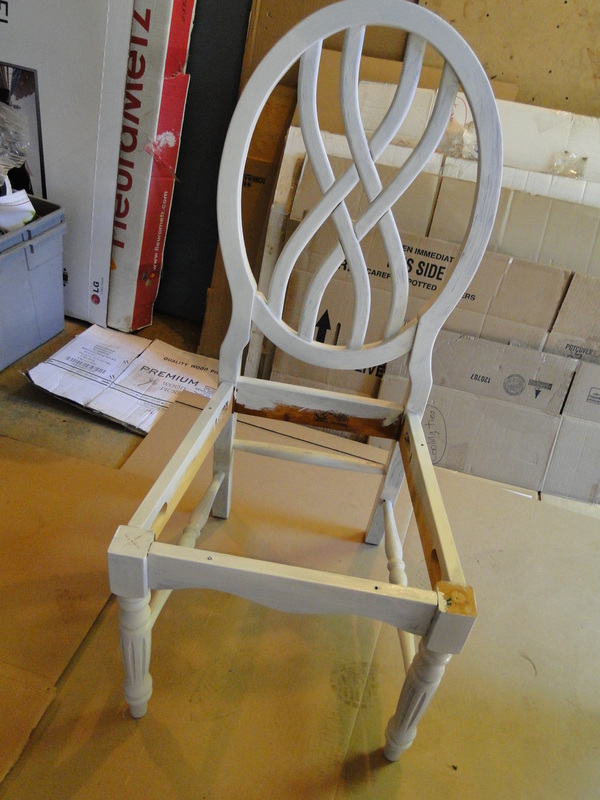
These chairs and Table were thrown away by someone. These are the chairs before painting. A good dusting and clean with TSP is all that is needed as preparation before painting with Cottage Paint. The finish on the chairs is quite shiny.
Dining room chair - After.
Cottage Paint used on chair : colour Driftwood, it took 3, 8oz. jars to paint 4 chairs, with 2 coats each.
Dining-Room Chair - After.
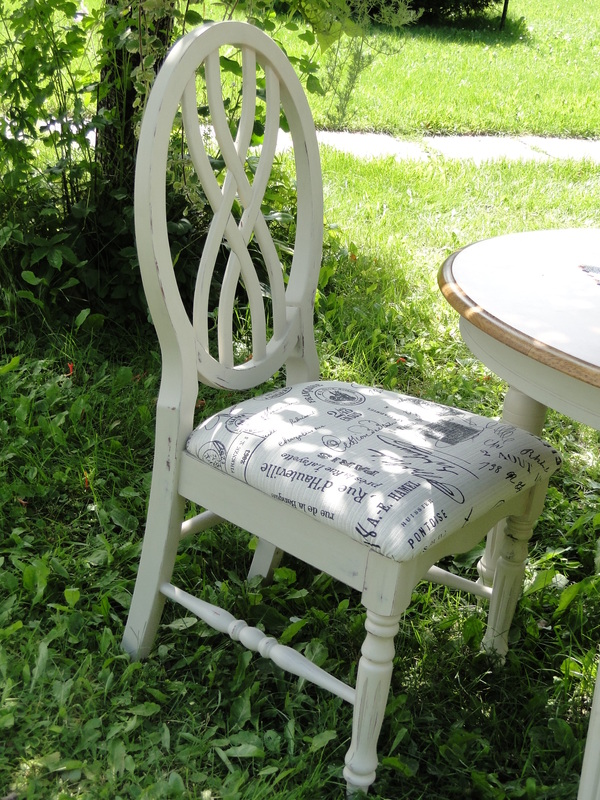
Chair seats were re-upholstered in French script fabric, 2yds. 60"wide, was enough to redo 6 chair seats. Check instore at the Camellia to see similar fabric for sale.
Finished Dining room set.
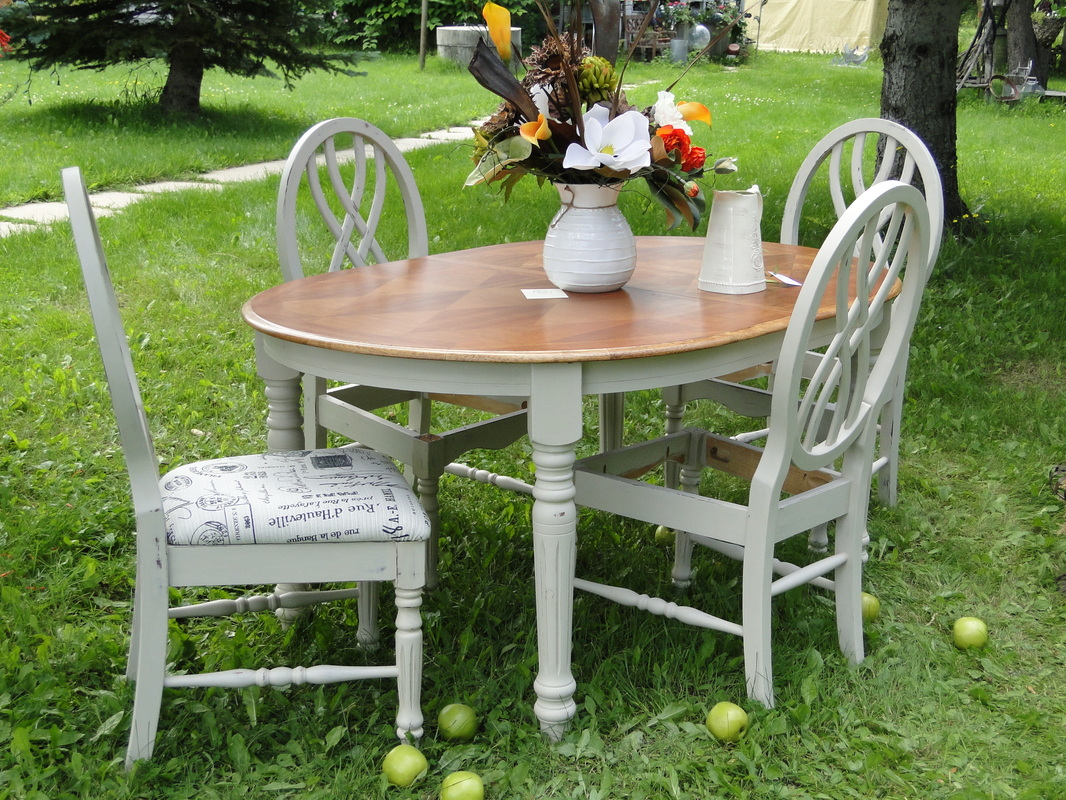
The Table Top was stripped and revarnished, to keep the beauty of the diamond inlay pattern. The base of the table top and legs were painted in Driftwood Cottage paint. The combination of the wood and the painted wood is just beautiful. What a transformation! Cottage Paint zero-gloss varnish was the finish coat on the painted pieces.
Products used in Dining-Room makeover
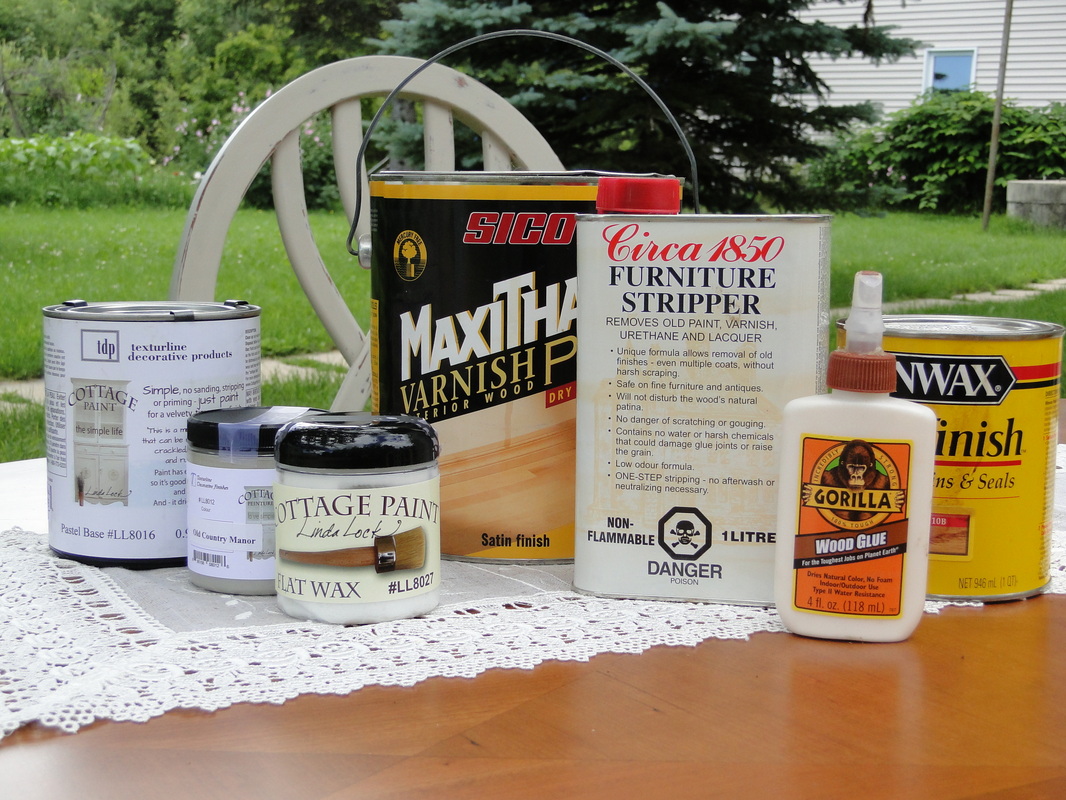
The varnish we used for the table top was leftover from a previous flooring job.
Vintage Dresser Makeover
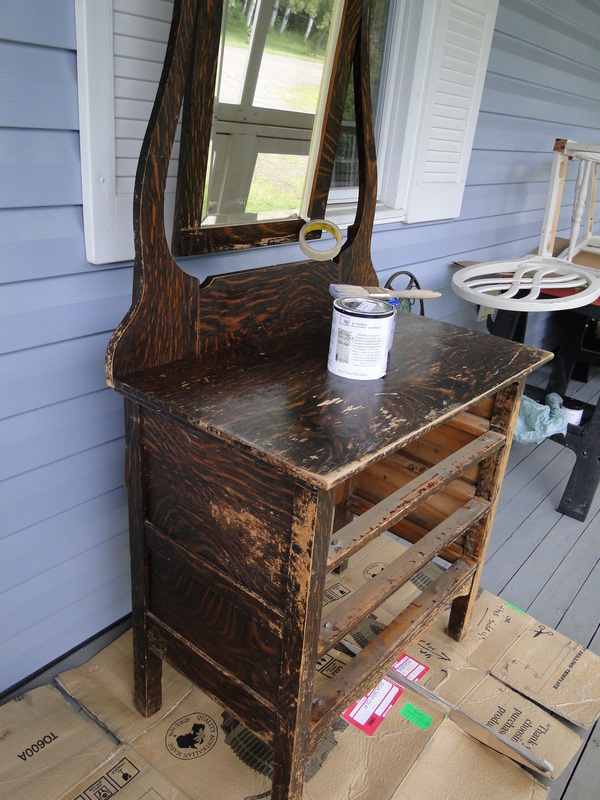
Before. The finish on this dresser is in rough shape. No prep sanding was done, just a good dusting and wipe down with TSP.
Dresser Makeover

First coat of Cottage Paint goes on. Colour: Purple Haze. No secret here, just paint right onto the wood.
Dresser Makeover
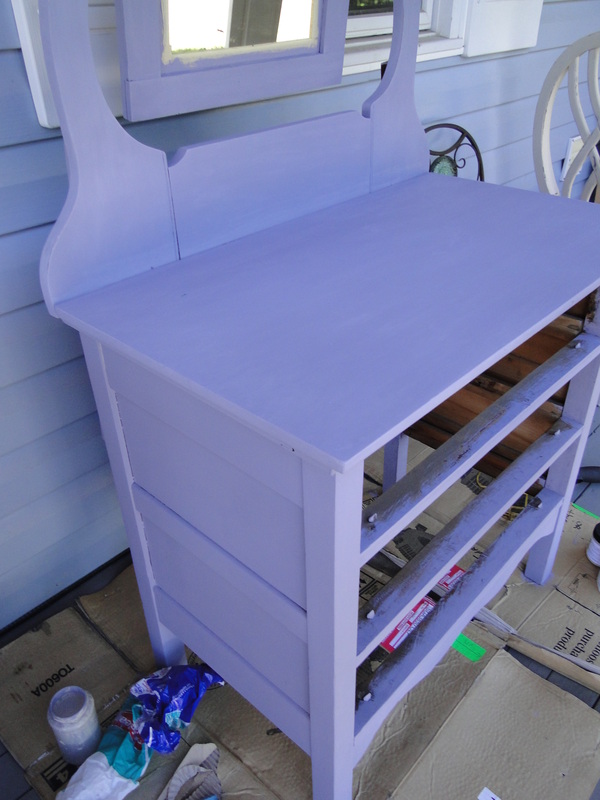
Here I did 2 coats of Purple Haze. The colour is too purple for my liking, but there will be a topcoat of Asphalt, which will tone the colour down considerably.
Dresser Makeover
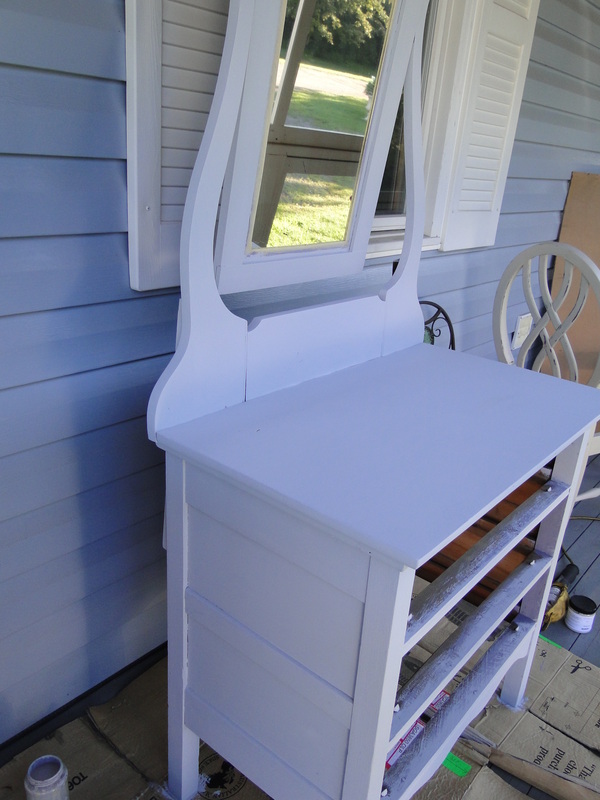
A wipe with a damp rag to smooth out any brush strokes, an application of flat wax, then a Topcoat of the colour Asphalt. Then a wipedown with a damp rag to distress.
Stencil on Dresser
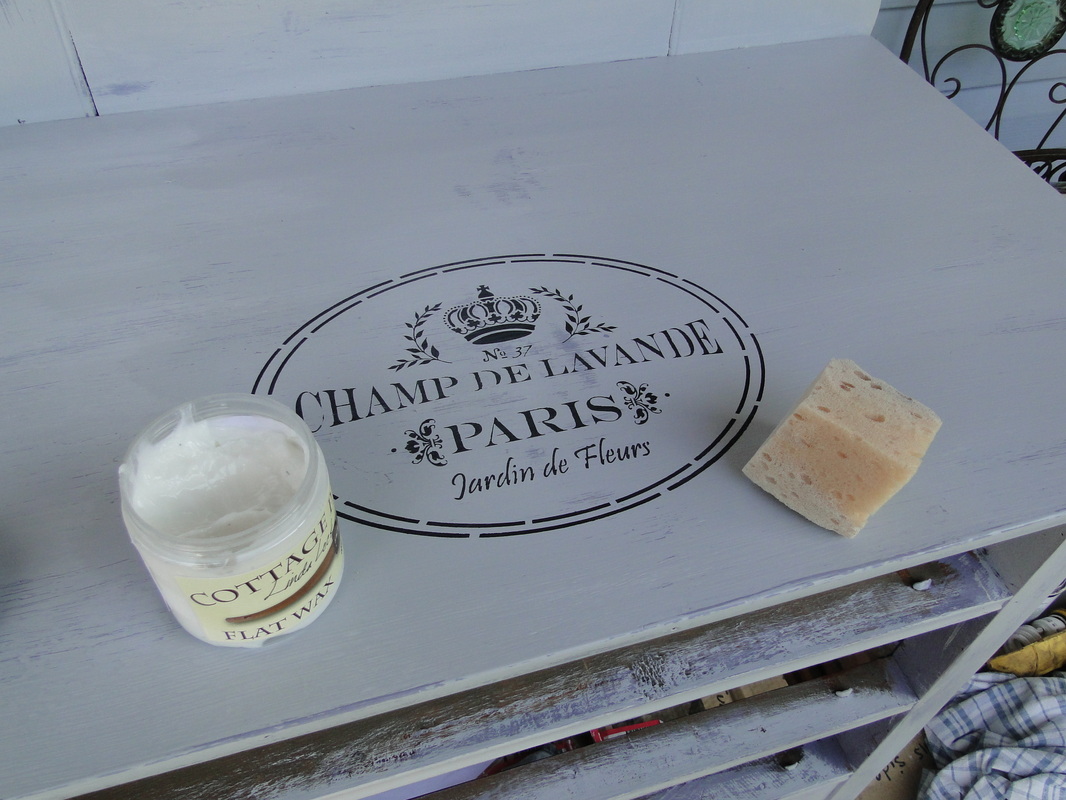
I wanted a real French feel to this dresser, so I used one of the Cottage Paint stencils. We sell these stencils in store at the Camellia.
Finished Vintage Dresser

Voila! Instant transformation from a piece of junk to a treasured heirloom! I finished with 2 coats of Flat wax.
